![]()
Documentation, Help and How Tos
Installing maps using SendMap
Need Help? Call or Email: (989)-751-6863 or help@vvmapping.com
SendMap is a more difficult to use program, we recommend using only if the other options do not work for your situation AND ONLY IF WE DIRECT YOU TO DO SO.
It's easy to miss a support file and not have the trails show with the correct color, for example, using this method.
Loading Maps to your GPS using SendMap
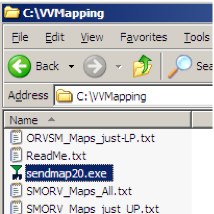
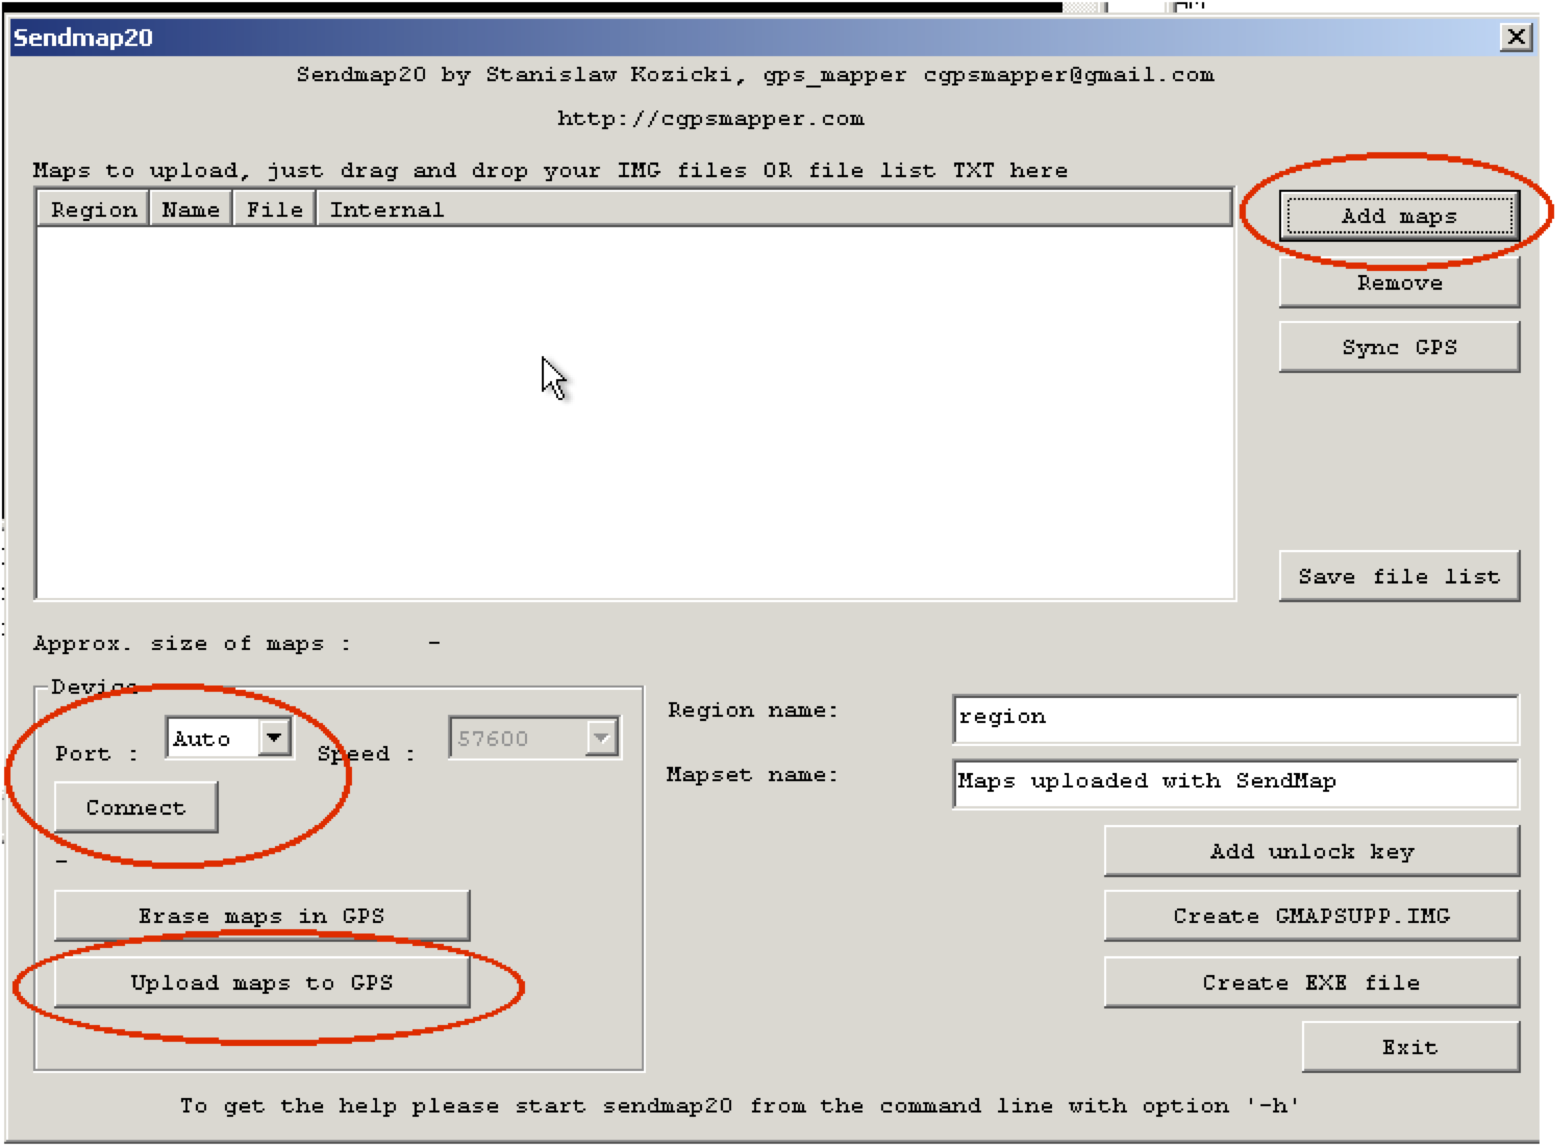
To load directly to the GPS we use the program "SendMap". This program was installed into the VVMapping folder (C:\VVMapping). Launch SendMap by double clicking it.
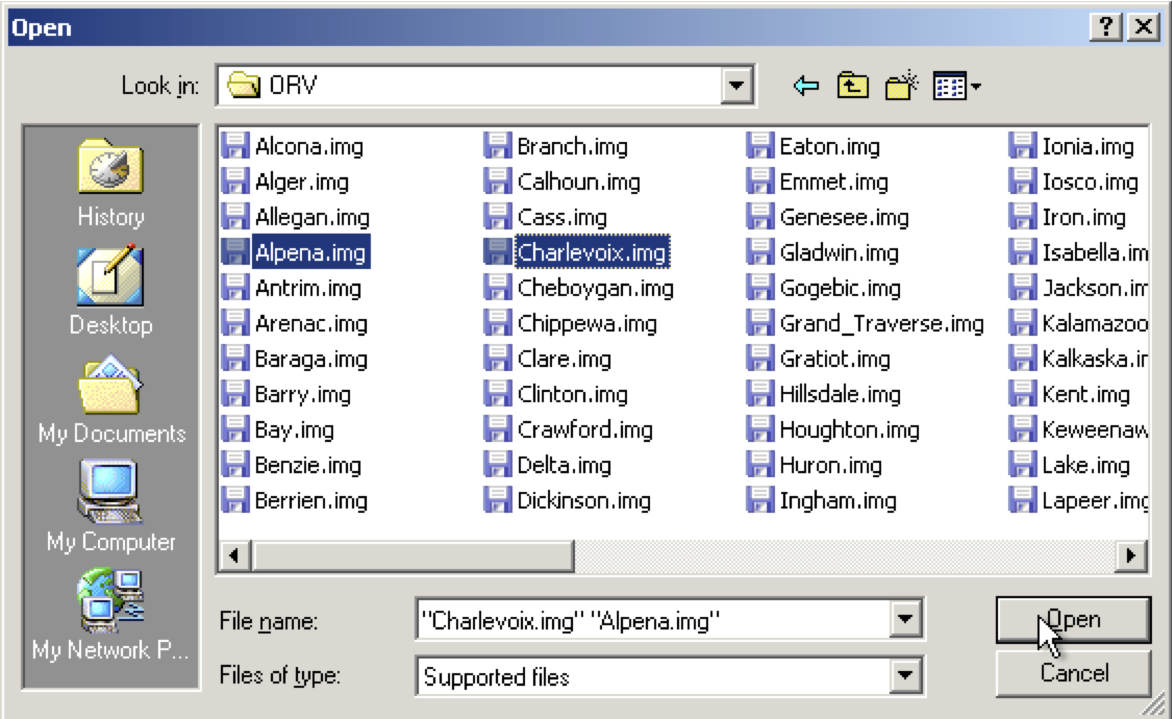
Use the "Add Maps" button on SendMap to choose which maps you would like to load to your GPS. You may manually choose each county by name or use one of our predefined lists to save some time.
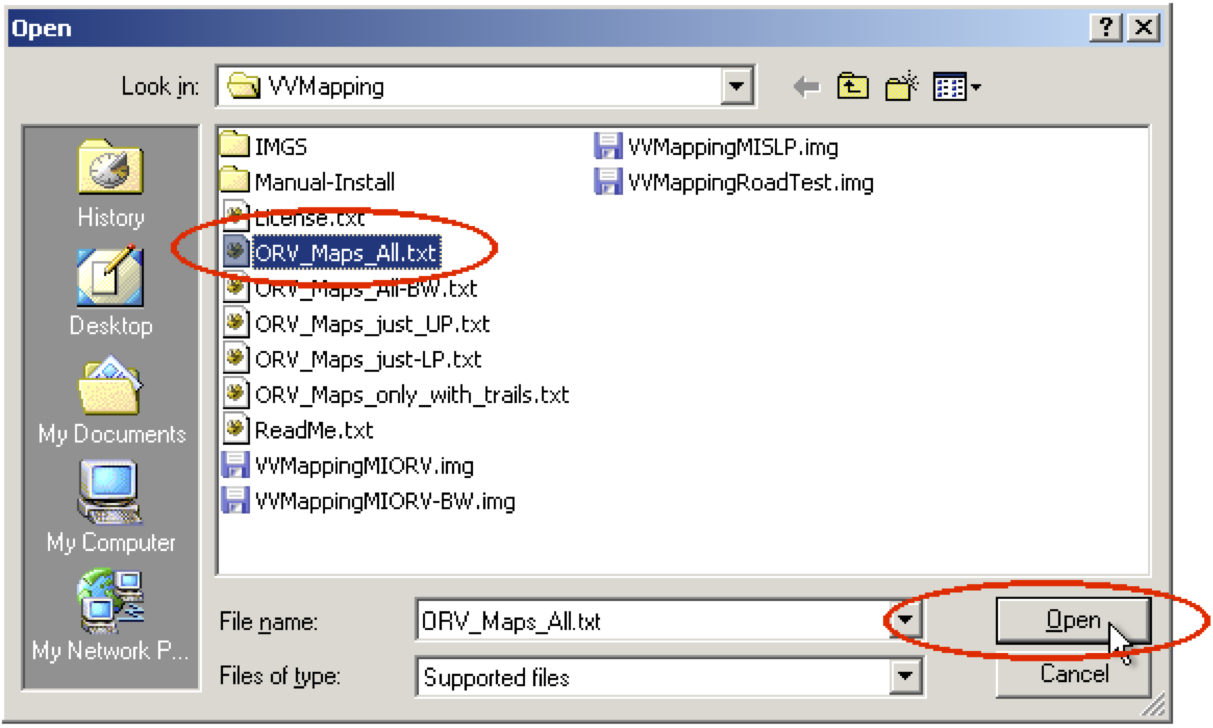
For example, to load all of the ORV maps, click the "Add Maps" button, then choose the file "All_ORV_Maps.txt" in the VVMapping folder. This will automatically choose all of the associated maps for you in SendMap.
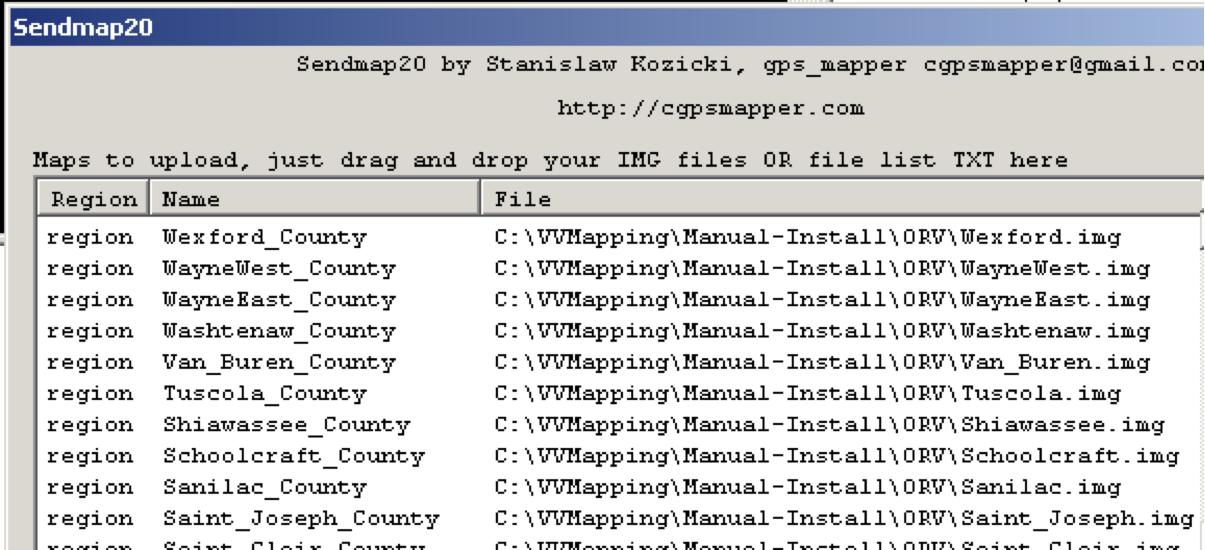
Alternatively you can manually pick each county that you wish to load. Each county map segment is located in the folder "Manual-Install" and further broken down by map type (ORV or ORV without public land information). You may continue to click "Add Maps" until you've selected all of the items you want to load.

Once you've chosen the desired maps, connect your GPS to the computer and power it on. Click the "Connect" button in SendMap to locate your GPS. Your GPS should be listed under the "Connect" button by model. To send the maps, click the "Upload maps to GPS" button.
Most of the Nuvi models will not show using the "Connect to GPS" method. To load the maps to these units we need to use the "Create Gmapsupp.img" button. Clicking that button will bring up a Save dialog window, we need to save the file in the "garmin" folder within your GPS. If you have a Nuvi and have it connected to the computer, it will be listed in the drive choices.